

Clear Floor Epoxy Resin for a High-Gloss Wear Layer
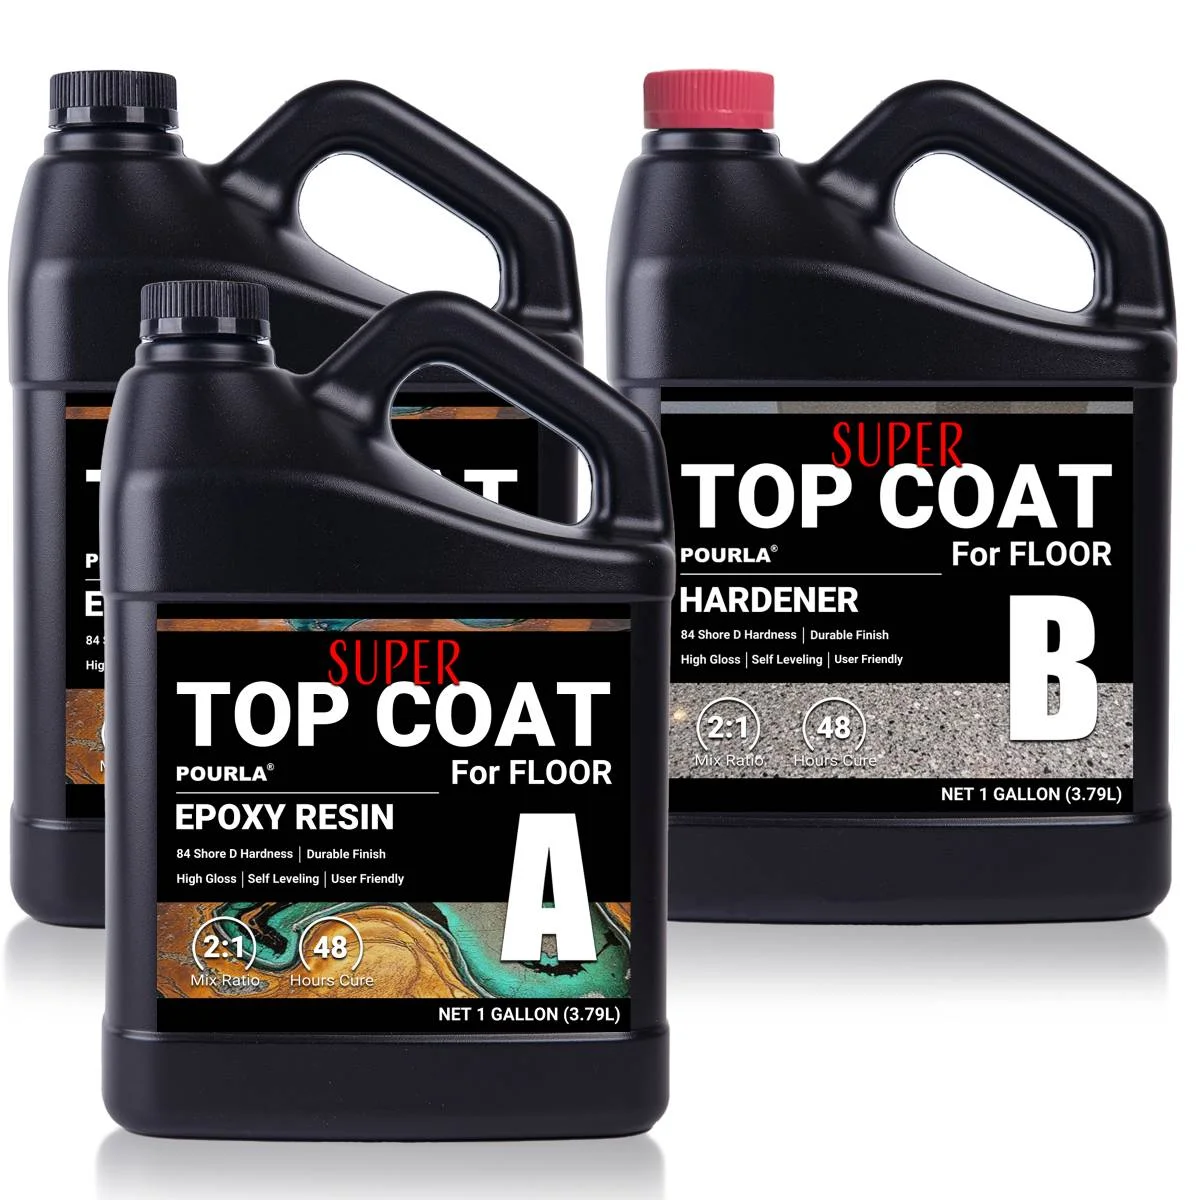
POURLA Floor Topcoat Epoxy is a two-component, ambient-cure system designed for prepared garage, warehouse, showroom and decorative concrete floor systems. The clear, low-viscosity formula self-levels into a smooth finish that enhances flakes, metallic effects and solid-color coatings.
A clear wear layer with measurable performance
The final coat determines how the floor looks, how clearly the design reads and how well the system handles normal use. POURLA combines a clear high-gloss finish with practical working time and published physical data.
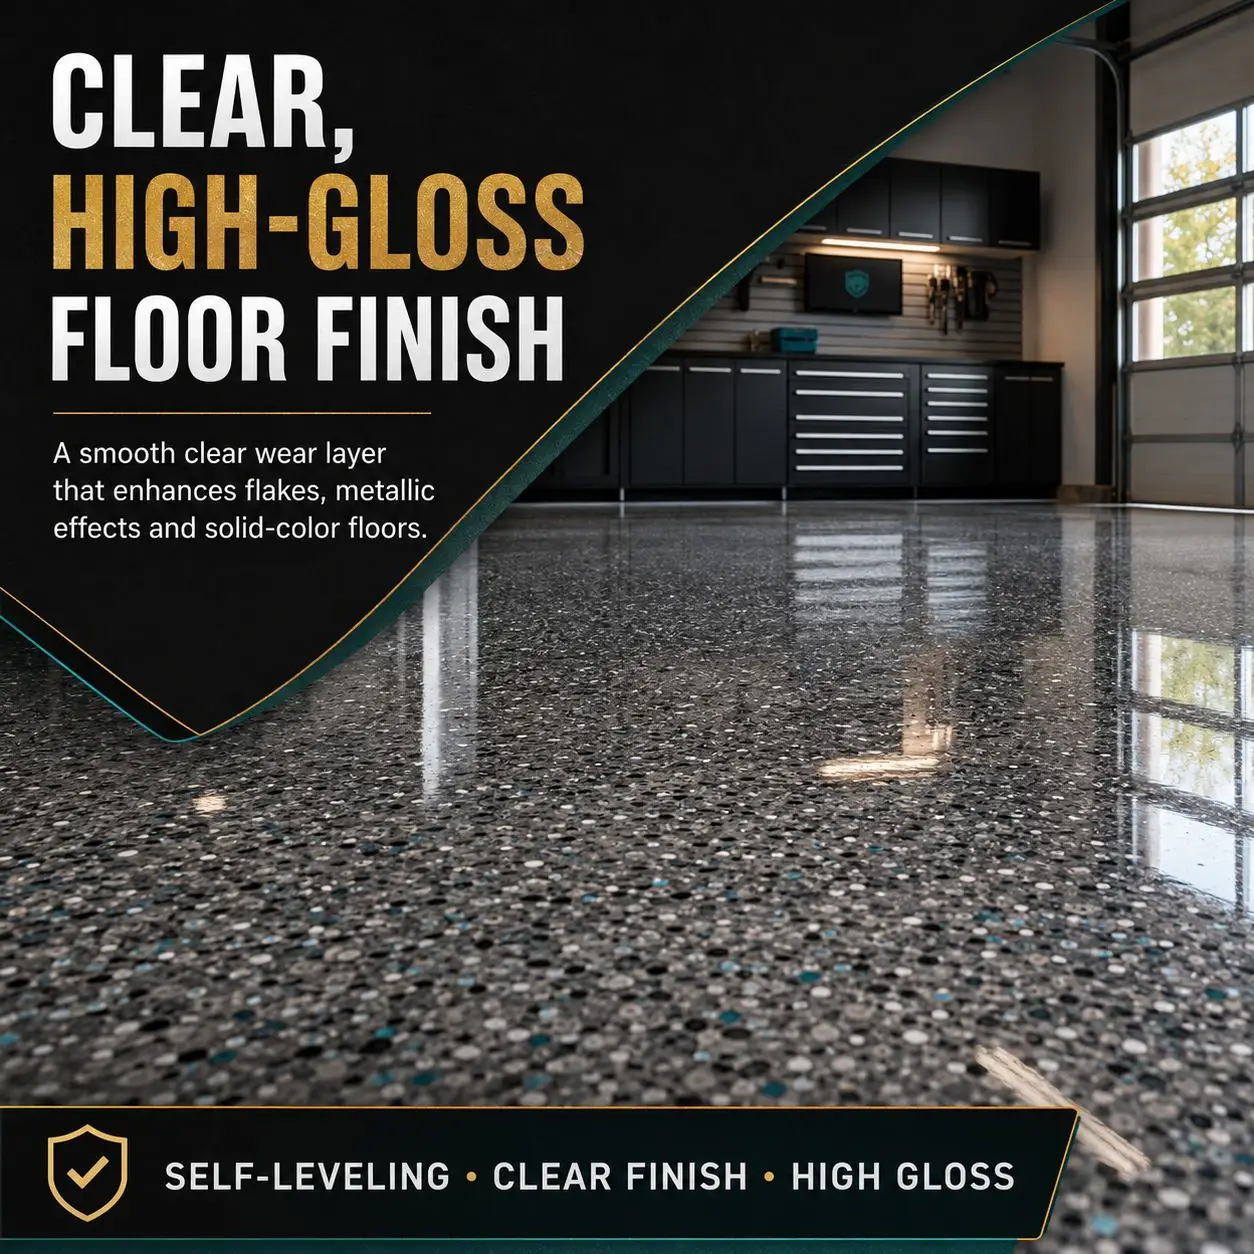
Clear, High-Gloss Finish
Creates a transparent, glossy surface that helps deepen the visual contrast of flakes, metallic pigments and solid-color floor systems.
Self-Leveling & Self-Defoaming
The low-viscosity system is designed to level smoothly and help trapped air escape when it is measured, mixed and applied correctly.
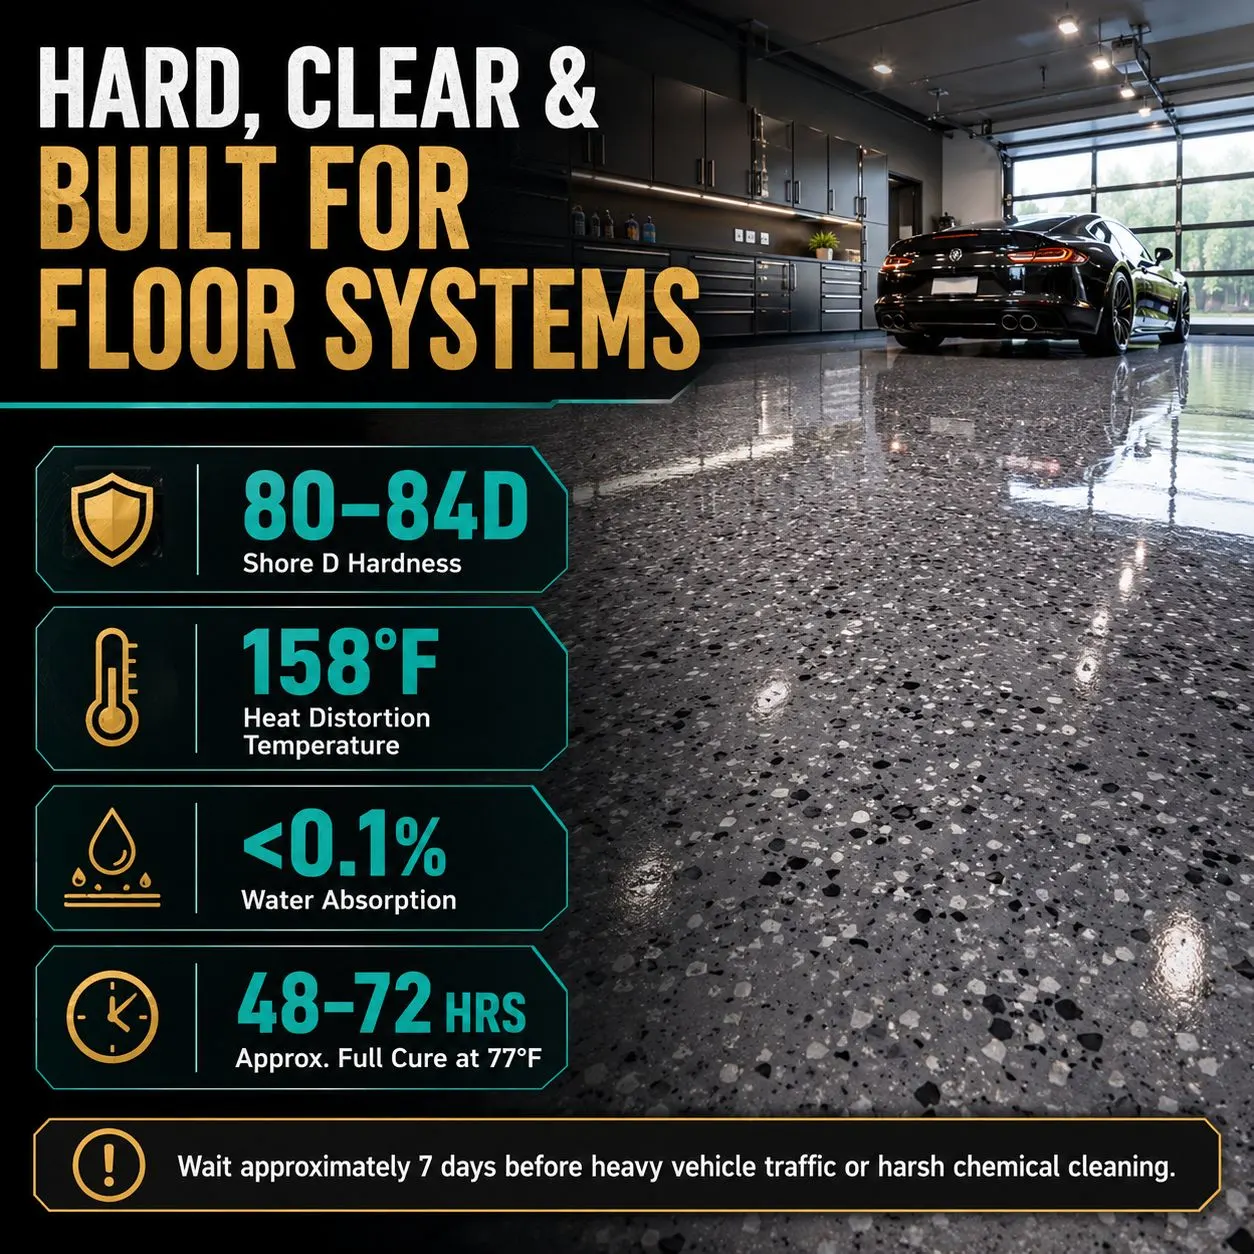
Shore D 80–84 Hardness
Cures to a hard surface intended to serve as the final wear layer in properly prepared residential and commercial floor systems.
158°F Heat Distortion Temp.
A published HDT of 158°F (70°C) provides a defined laboratory reference for comparing cured material performance.
Enhanced UV Inhibitors
Formulated with UV inhibitors that help reduce yellowing. For prolonged sunlight or exterior exposure, use a compatible UV-stable final coat.
Use Clear or Add Compatible Color
Apply it clear over decorative floors, or add compatible solid pigments or metallic powders when building a tinted or decorative epoxy layer.
Plan the full floor before the working clock starts
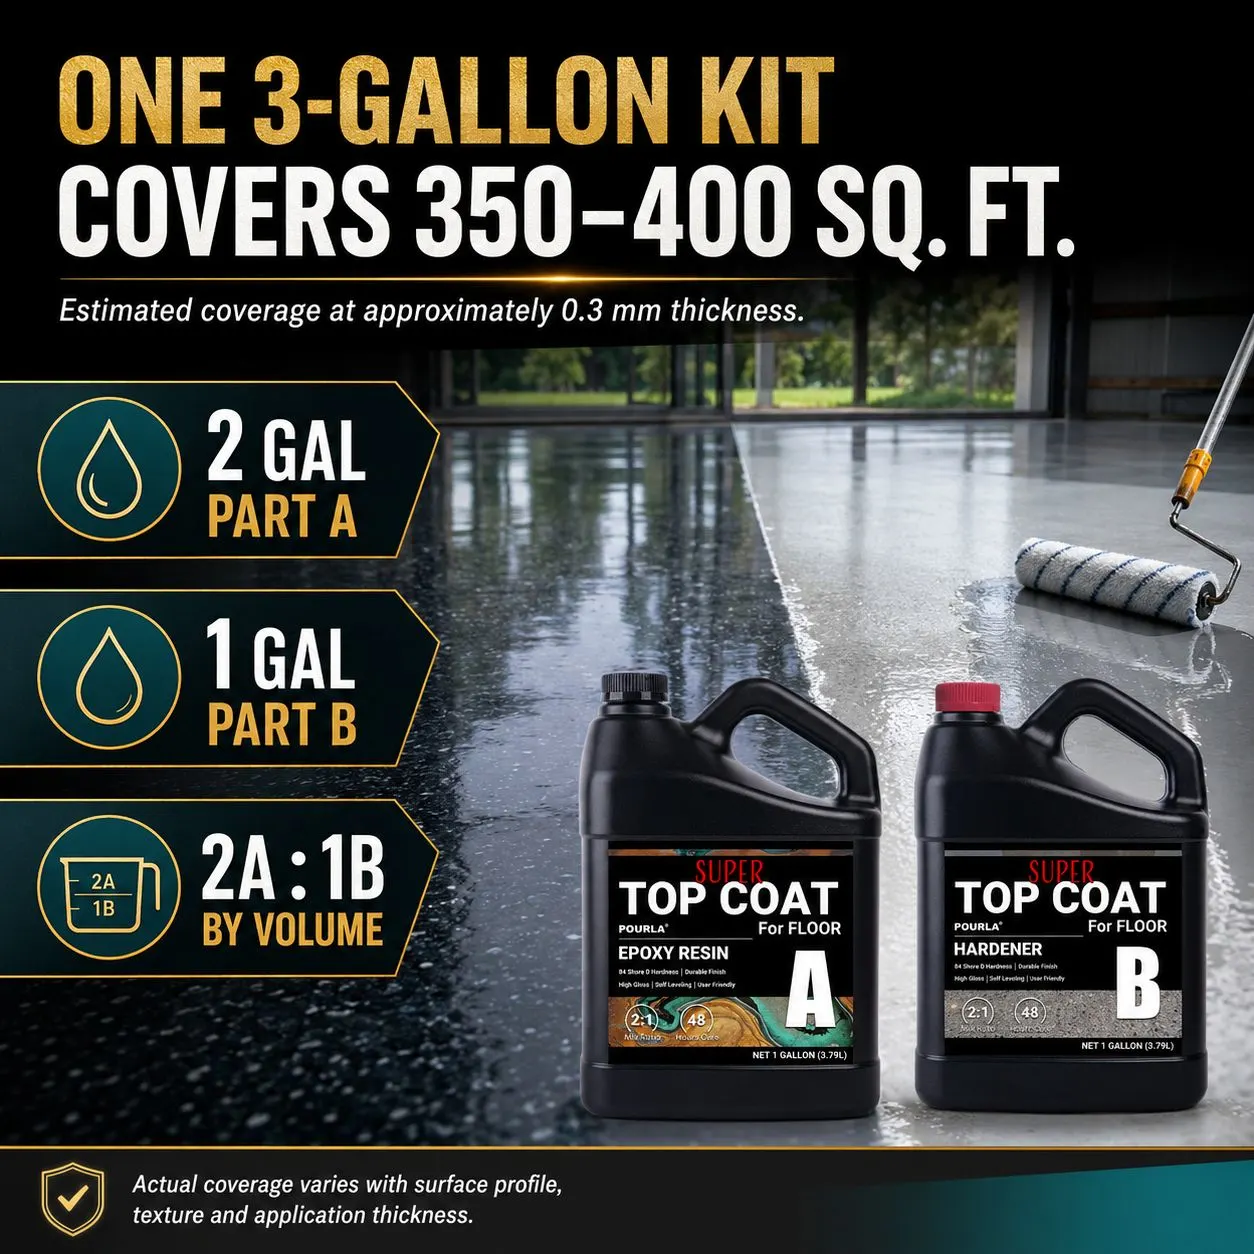
Coverage is based on approximately 350–400 square feet per 3-gallon kit at 0.3 mm. Surface profile, texture, application thickness and normal transfer loss can reduce the actual area covered.
Estimate how many kits you need
Enter the floor area and planned thickness. The calculator scales the published 0.3 mm coverage range and rounds up to full kits.
Coverage is an estimate—not a guarantee. Rough flake profiles, porous surfaces, uneven floors and thicker application require more material.
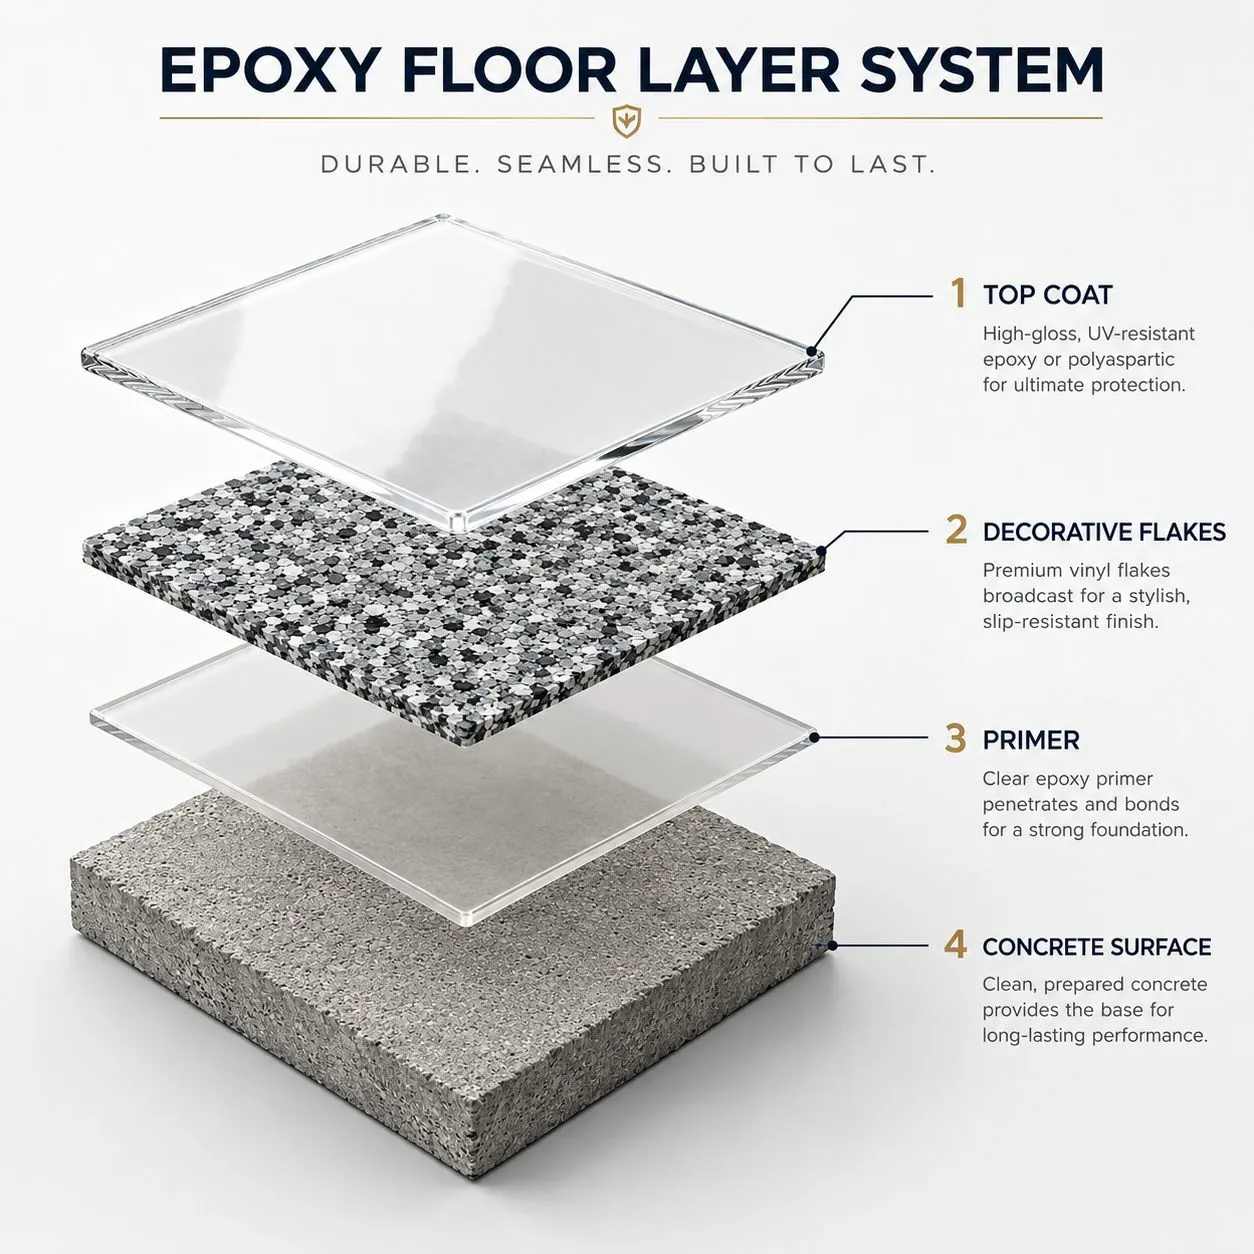
The top coat performs best when every layer below it is compatible and properly prepared
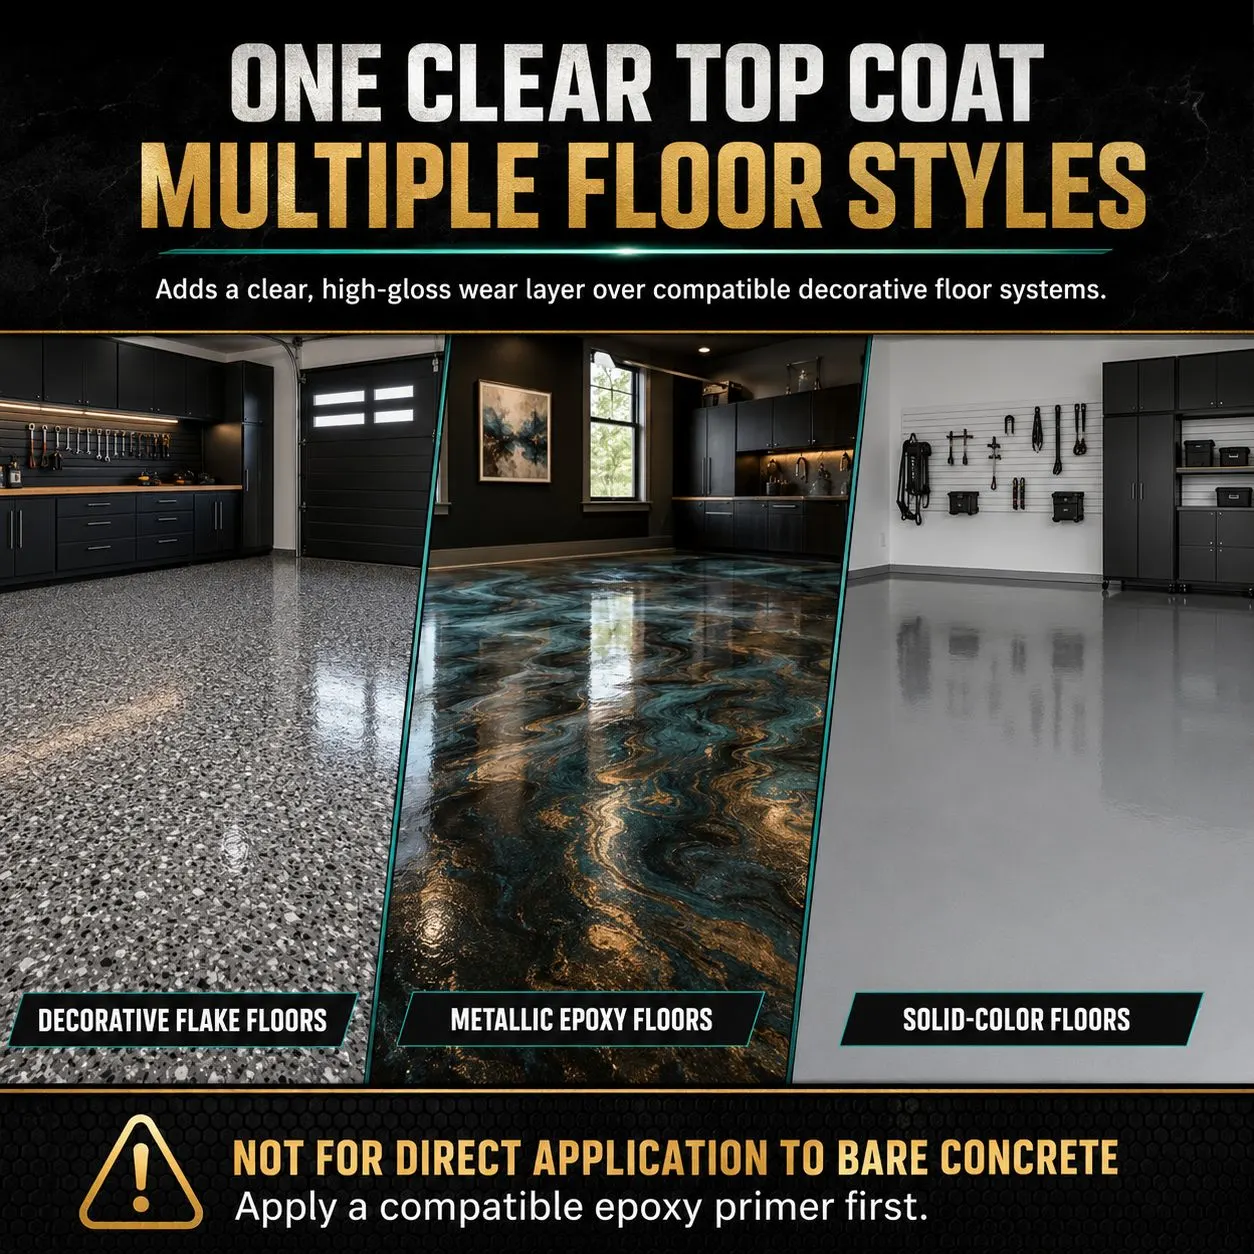
Use the product clear as a final epoxy wear layer or combine it with compatible pigments when building a decorative base. Do not skip the primer on bare concrete.
Decorative Flake Floor
Texture, color and a sealed clear finish
- Prepare and profile the concrete, then apply compatible epoxy primer
- Apply a tinted epoxy base coat and fully broadcast decorative flakes
- Scrape and vacuum loose flakes, then apply the clear epoxy top coat
Metallic Epoxy Floor
Depth, movement and a marble-like appearance
- Prime the prepared concrete; tint the primer dark when the design requires it
- Mix compatible metallic pigments into the epoxy and create the pattern
- Allow the decorative coat to cure before adding a compatible clear finish if needed
Solid-Color Floor
Uniform color with a smooth high-gloss surface
- Apply epoxy primer to the clean, mechanically prepared concrete
- Add a compatible solid-color pigment to the mixed epoxy and apply evenly
- Use an additional clear epoxy or polyaspartic layer when the system requires it
Clear Coating System
Preserve the look of the layer below
- Seal bare concrete with a compatible epoxy primer
- Apply the clear epoxy coat at a uniform thickness
- For prolonged UV exposure, consider a compatible UV-stable polyaspartic final coat
A smooth finish depends on preparation, accurate measuring and continuous application
Read the Technical Data Sheet before mixing. Organize tools, helpers and an exit path in advance because the working window begins as soon as Parts A and B are combined.
Prepare and prime the substrate
Bare concrete must be clean, dry, mechanically prepared and coated with a compatible epoxy primer. Remove weak or peeling paint. A sound cured coating must be thoroughly cleaned and mechanically abraded to a uniform dull profile.
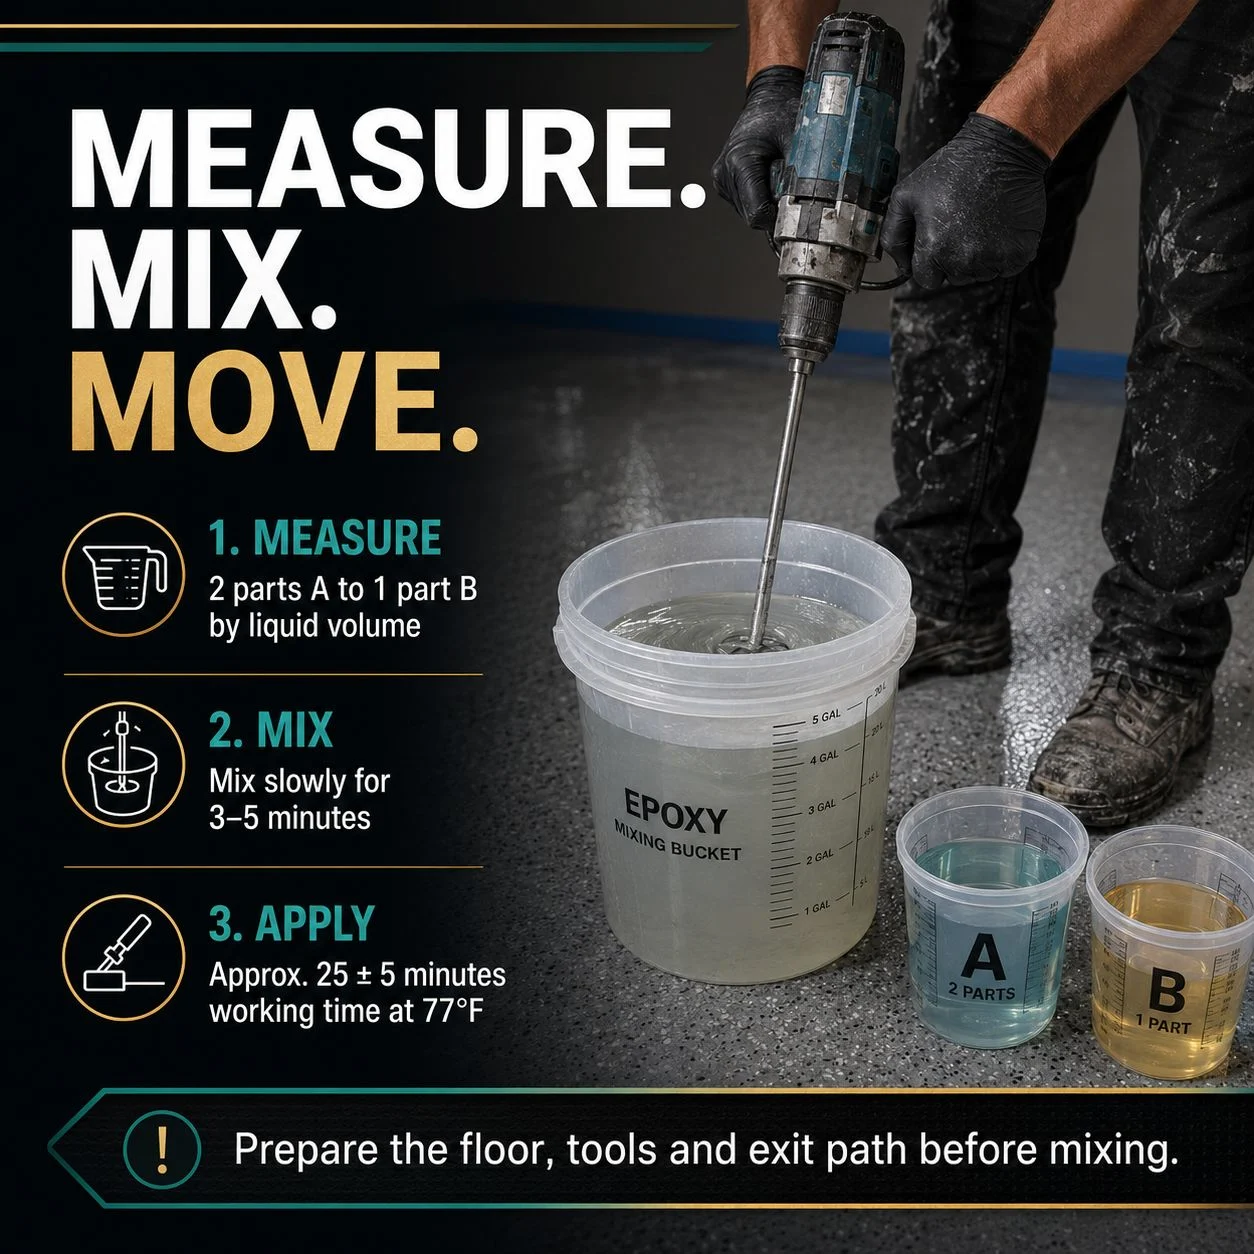
Measure exactly 2A : 1B by volume
Use clean graduated containers. Measure two liquid-volume parts of Part A resin to one liquid-volume part of Part B hardener. Do not estimate the ratio.
Mix slowly for 3–5 minutes
Use a low-speed mixer and scrape the sides and bottom repeatedly. Avoid whipping air into the batch. Unless experienced with large areas, do not mix more than one gallon at a time.
Spread evenly and back-roll
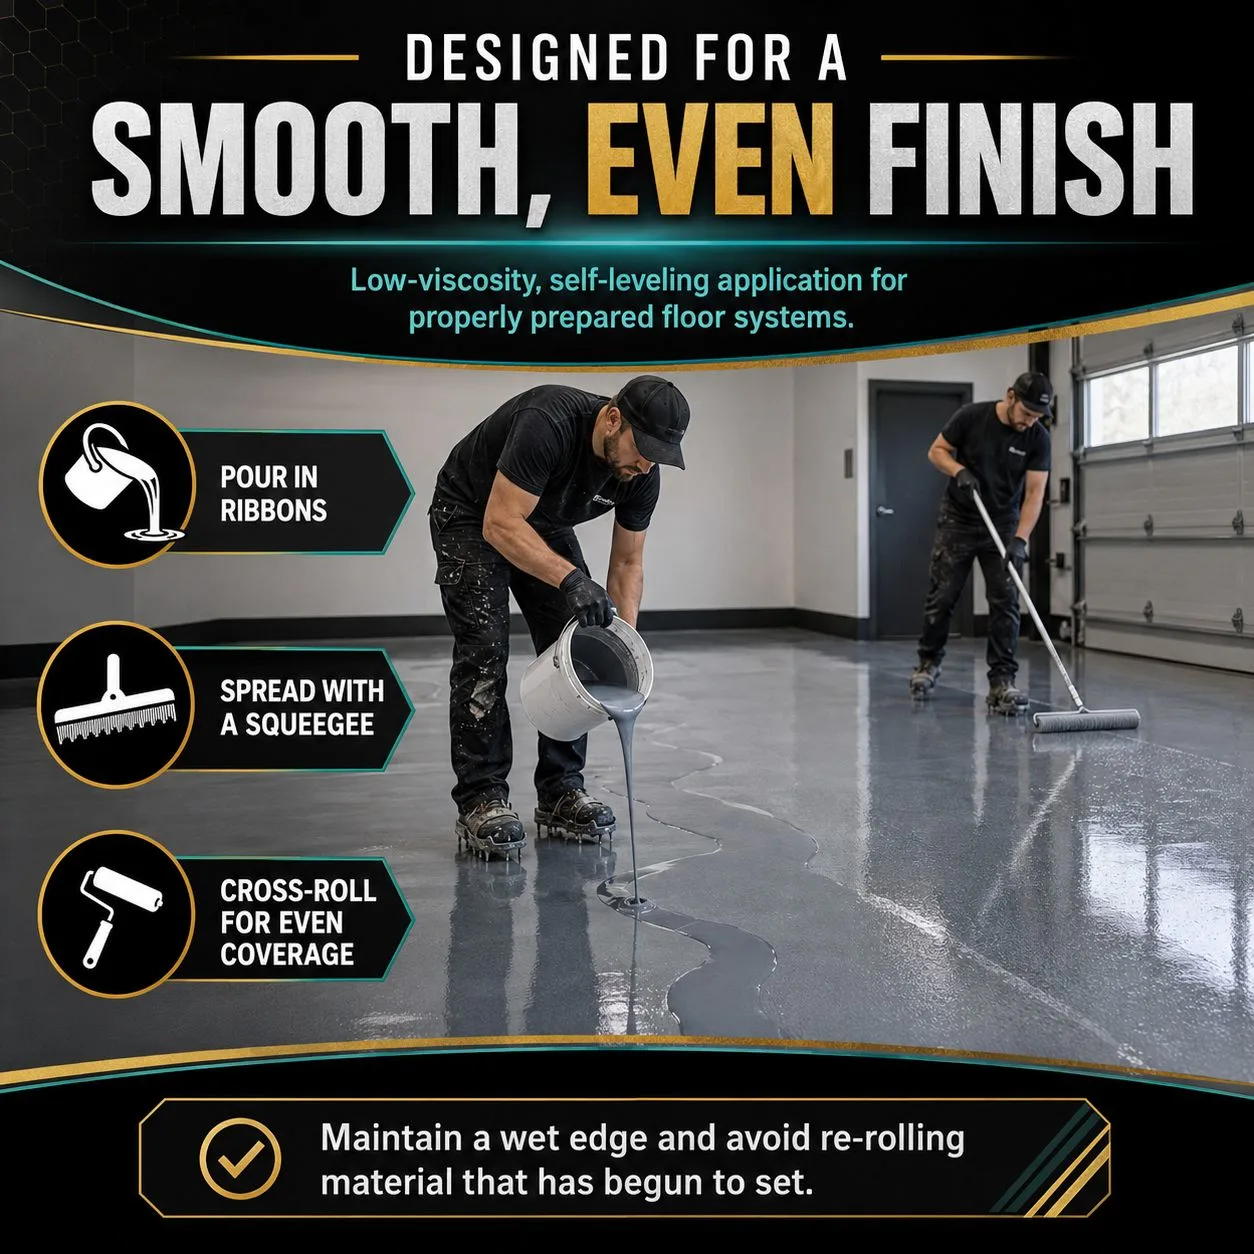
For larger sections, pour the mixed epoxy in ribbons, spread it with a squeegee and immediately cross-roll with a de-linted 3/8-inch microfiber roller. Use a 4–6-inch mini roller for edges and tight areas.
Work continuously, then protect the cure
Plan the exit path before starting. Avoid re-rolling material that has begun to set. Keep the floor free from dust and contact, allow 48–72 hours before foot traffic, and wait 7 days before heavy vehicle traffic or harsh chemical cleaning.
Know what the cured material is designed to deliver
Physical data is most useful when it is paired with realistic expectations. Results depend on correct ratio, complete mixing, substrate preparation, application thickness, temperature and sufficient cure time.
Key data for purchasing, planning and installation
Use these specifications together with the current Technical Data Sheet and the instructions supplied with the product.
| Product type | Two-component, ambient-cure clear epoxy floor top coat |
|---|---|
| Kit contents | 2 gallons Part A resin + 1 gallon Part B hardener (3 gallons total) |
| Mix ratio by volume | 2A : 1B |
| Mixing time | 3–5 minutes; scrape sides and bottom repeatedly |
| Working time | Approximately 25 ± 5 minutes at 77°F |
| Coverage | Approximately 350–400 sq. ft. per 3-gallon kit at 0.3 mm |
| Initial cure | Approximately 24 hours at 77°F |
| Full cure | Approximately 48–72 hours at 77°F |
| Heavy vehicle / harsh cleaning | Wait approximately 7 days |
| Cured color and finish | Clear, high gloss |
| Shore D hardness | 80–84 |
| Heat distortion temperature | 158°F (70°C) |
| Water absorption | Less than 0.1% |
| UV resistance | Enhanced UV inhibitors help reduce yellowing |
| Resin viscosity | 2150 ± 300 cP at 77°F |
| Hardener viscosity | 150 cP at 77°F |
| Mixed viscosity | 200–600 cP |
| Recommended environment | Clean, dry and dust-free; approximately 65–75°F for best results |
| Shelf life | At least 12 months in tightly sealed original containers |
Working time, coverage and cure time are approximate. Temperature, substrate texture, batch size, application thickness, mix accuracy and technique can change actual results.
Clear answers before the floor installation begins
The FAQ content below is also included as matching FAQPage structured data at the end of this file.
Can this epoxy top coat be applied directly to bare concrete?
No. Bare concrete should be properly prepared and coated with a compatible epoxy primer first. Primer helps seal the porous slab and creates a more consistent bonding surface for the layers above it.
How much area does one 3-gallon kit cover?
One 3-gallon kit covers approximately 350–400 square feet at about 0.3 mm thickness. Rough flake profiles, porous or uneven surfaces, thicker application and normal transfer loss can reduce the actual coverage.
What is the correct mixing ratio?
Measure two liquid-volume parts of Part A resin to one liquid-volume part of Part B hardener. Mix slowly for 3–5 minutes and scrape the sides and bottom repeatedly. Do not estimate the ratio.
How much material should I mix at one time?
Only mix what can be applied within the approximately 25 ± 5 minute working time at 77°F. Unless you are experienced with large-area floor applications, do not mix more than one gallon at a time because the reaction generates heat in the bucket.
How should the top coat be applied?
Work in planned sections. For large areas, pour the mixed epoxy in ribbons, spread it evenly with a squeegee and cross-roll with a de-linted 3/8-inch microfiber roller. Use a 4–6-inch mini roller for edges and avoid re-rolling areas that have begun to set.
When can I walk or drive on the finished floor?
Allow approximately 48–72 hours at 77°F before foot traffic. Wait about 7 days before heavy vehicle traffic or harsh chemical cleaning. Cooler conditions or thicker areas may require additional cure time.
Can the clear epoxy be tinted?
Yes. Compatible solid-color pigments or metallic powders can be added for decorative systems. Verify compatibility and test a small batch before mixing the full project quantity.
Can it be applied over decorative flakes or metallic epoxy?
Yes, when the underlying coating is compatible, properly cured or within its stated recoat window, clean and correctly prepared. Remove loose flakes and follow the preparation requirements for the specific layer below.
Can it be applied over an old painted floor?
Do not coat over weak, peeling or poorly bonded paint. Remove unstable coatings and prepare the concrete before applying primer. A sound existing coating must be thoroughly cleaned, mechanically abraded and tested for adhesion before recoating.
Is this epoxy suitable for prolonged sunlight or outdoor exposure?
The formula contains enhanced UV inhibitors that help reduce yellowing, but epoxy is not the same as a UV-stable polyaspartic coating. For prolonged sunlight or exterior exposure, consider a compatible UV-stable polyaspartic final coat.
What conditions help produce the best finish?
Work in a clean, dry, dust-free environment around 65–75°F for best results. Minimize air movement, measure accurately, mix completely, maintain a wet edge and protect the surface from dust and contact while it cures.
Prime first. Mix precisely. Finish the floor without interruption.
Use the coverage planner before purchasing, read the Technical Data Sheet before mixing and organize the entire application path in advance. The most reliable floor systems are built from the substrate upward.
Ashely Capp –
Really happy with how my floor turned out. The POURLA 3 gallon kit gave me a very nice, clear result. I had a few questions before mixing, and their customer service was super friendly and actually helped me with my project. Great epoxy, great company.
Sam –
Great epoxy for my garage!