


Clear Countertop Epoxy Resin for a Smooth, High-Gloss Finish
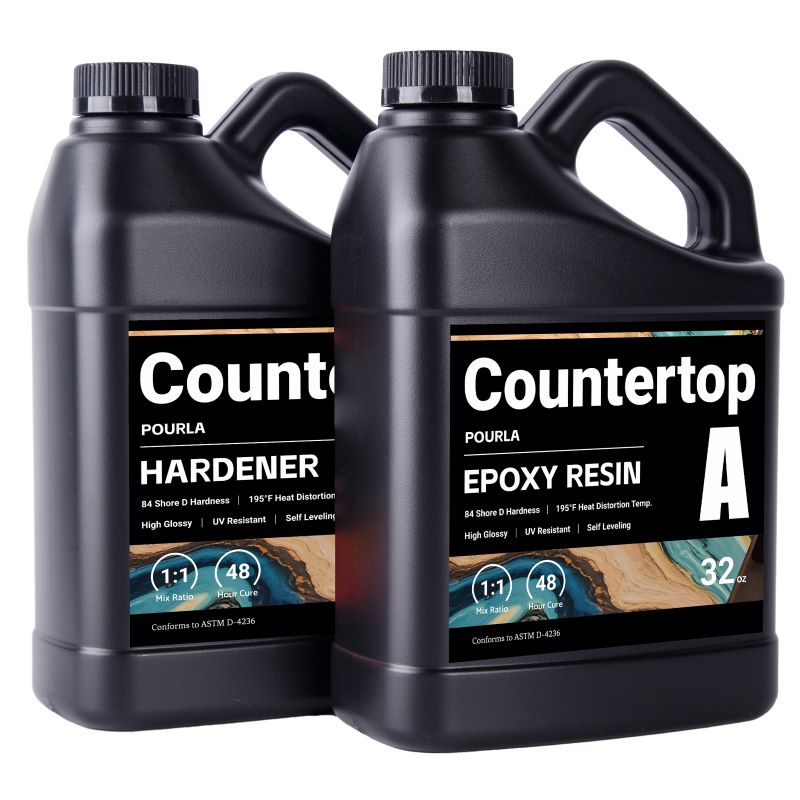
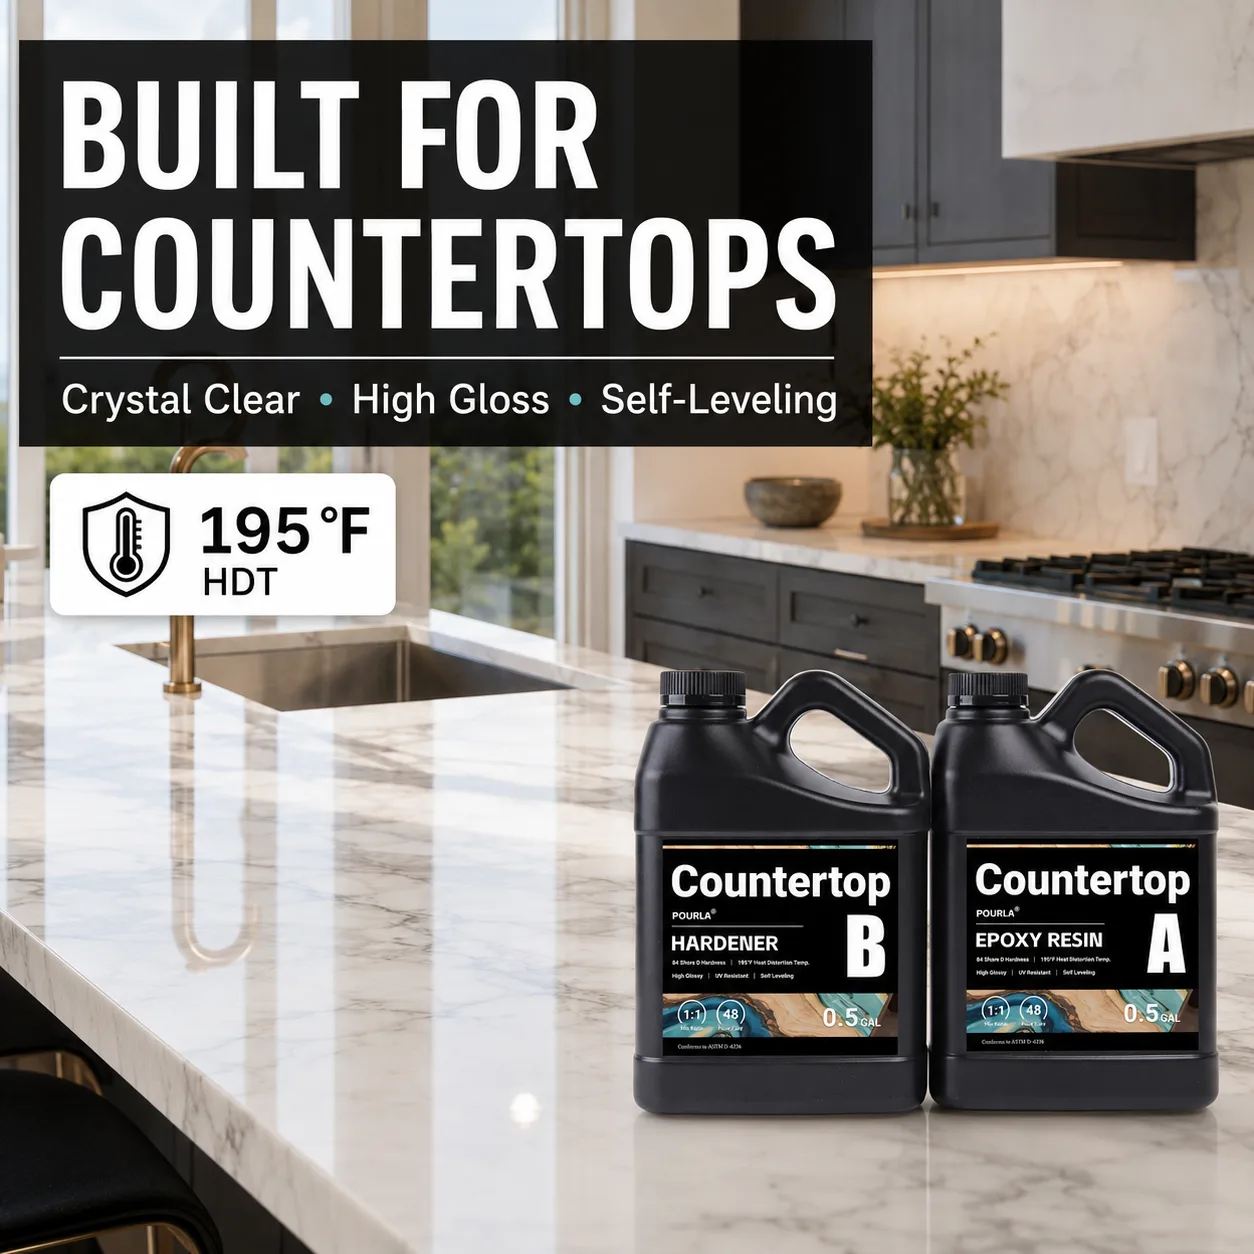
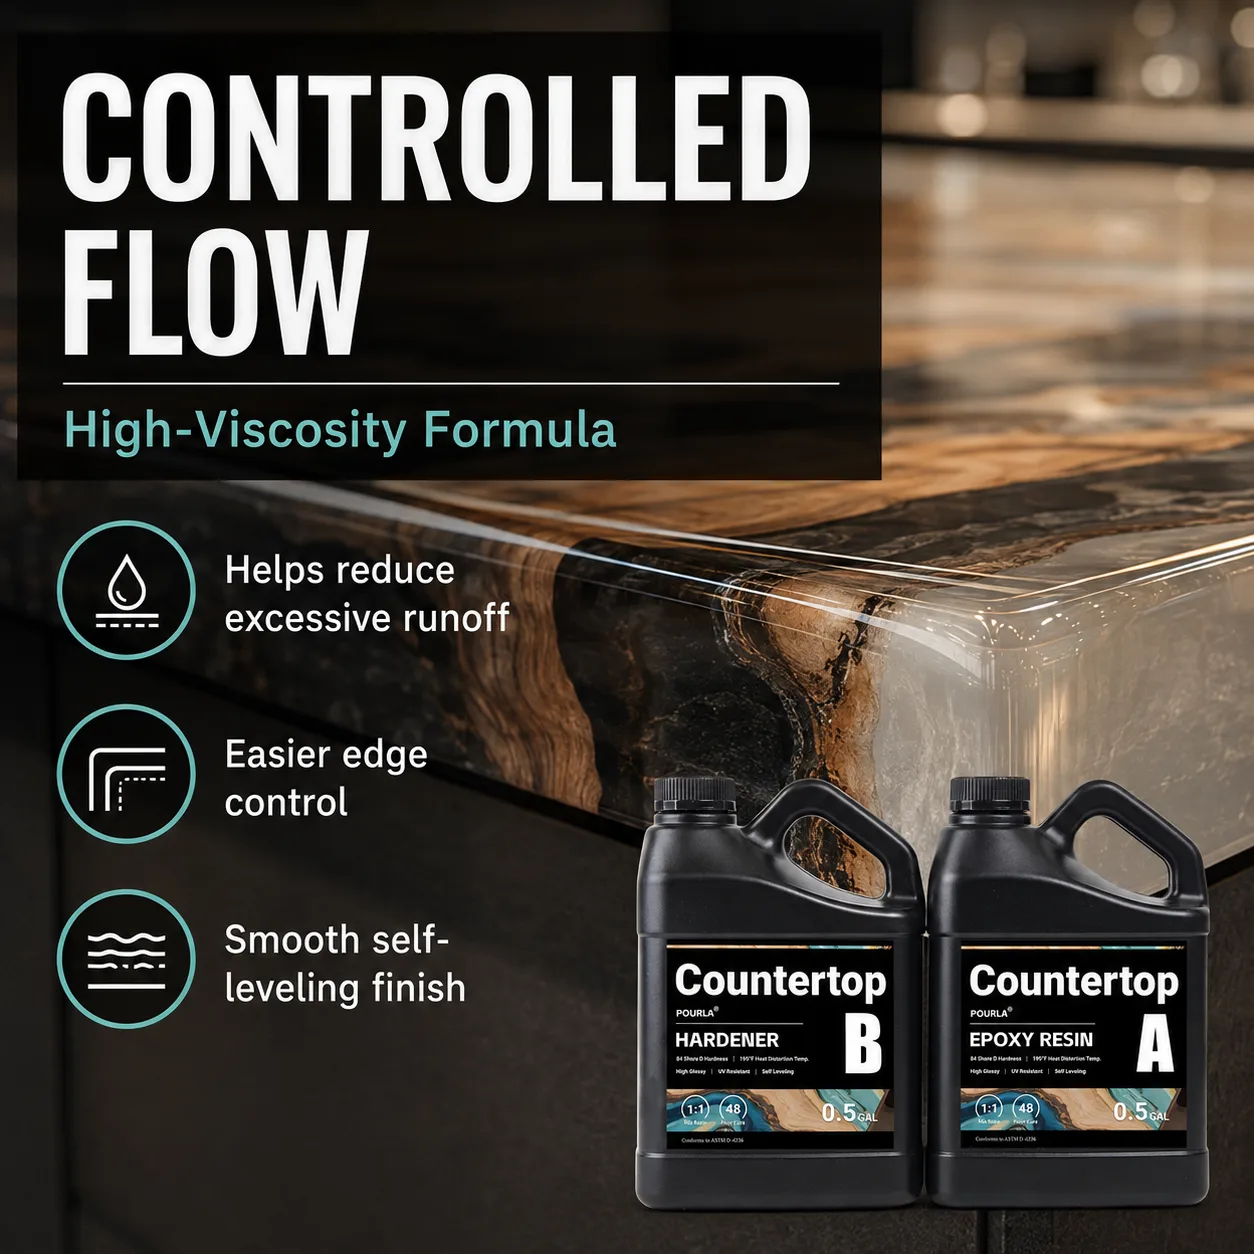
POURLA Countertop Epoxy is a simple 1:1 system designed for kitchen countertops, bar tops, table tops and decorative surfaces. Its high-viscosity, controlled-flow formula helps reduce excessive runoff while creating a smooth, crystal-clear finish when properly measured, mixed and applied.
Performance you can understand before you pour
Clear specifications make it easier to choose the right system, plan the correct amount and set realistic expectations for the finished surface.
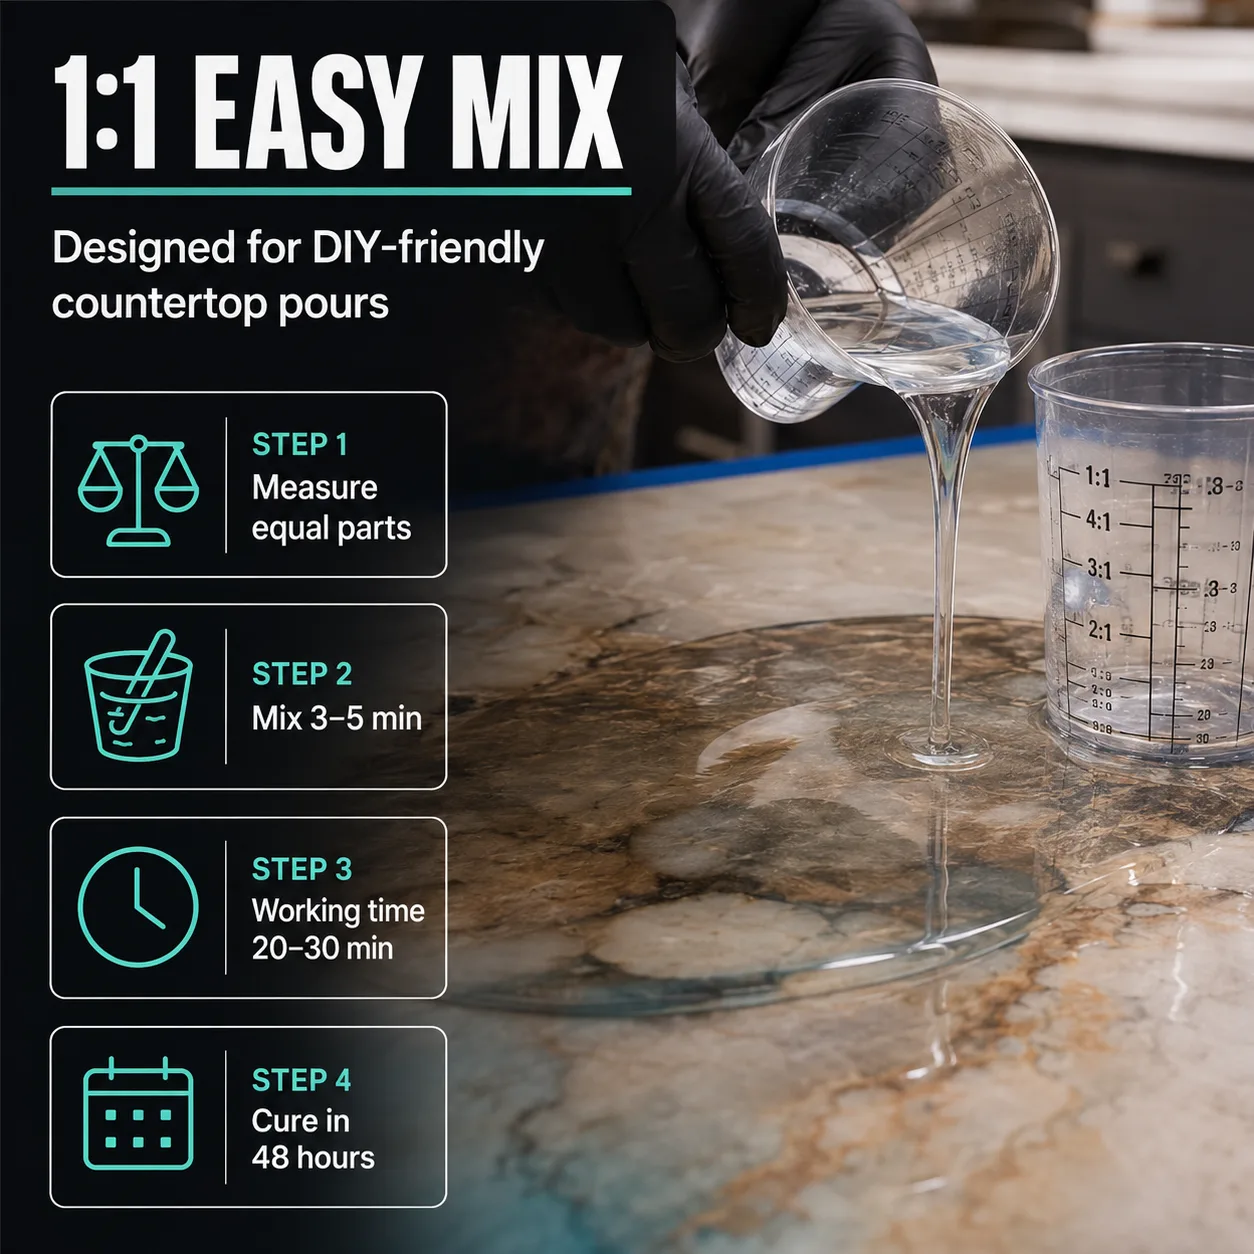
Easy 1:1 Mix Ratio
Measure equal parts resin and hardener by liquid volume for a straightforward, repeatable mixing process.
Controlled Flow
The high-viscosity formula helps reduce excessive edge runoff and provides greater control during countertop pours.
Crystal-Clear High Gloss
Creates a smooth, transparent finish that enhances decorative colors, patterns and the appearance of the underlying surface.
Lab-Tested 195°F HDT
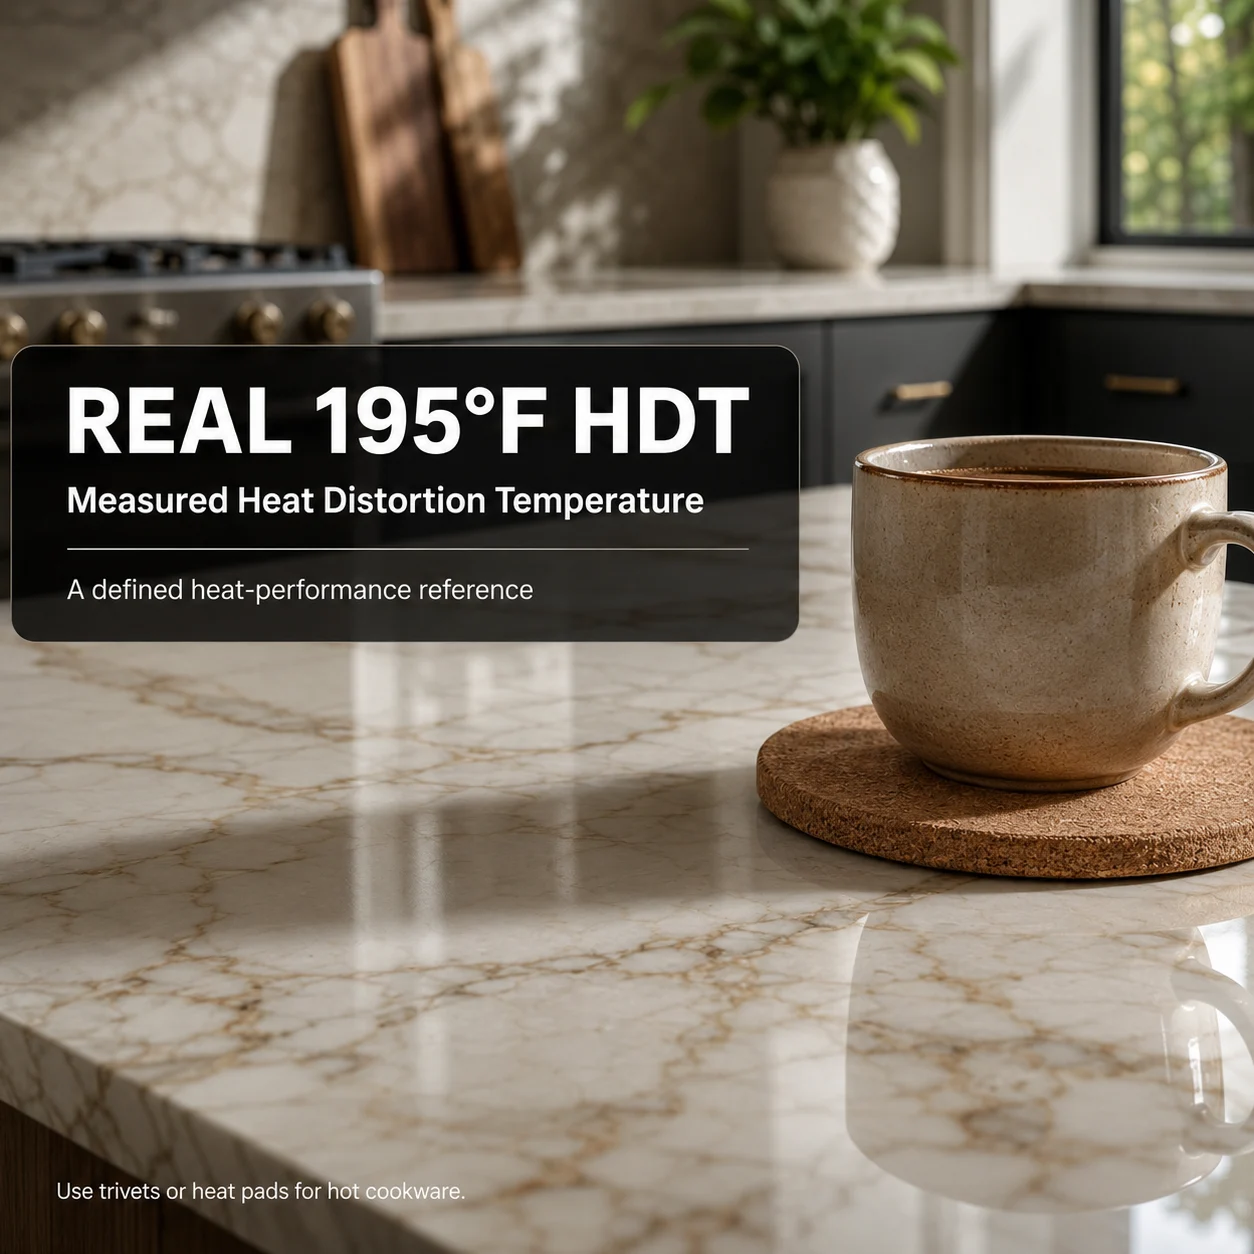
A measured heat distortion temperature provides a defined heat-performance reference instead of a vague marketing claim.
Shore D 80–84 Hardness
Cures to a hard surface designed for normal daily use on countertops, table tops and bar tops.
UV-Stabilized Formula
Formulated with enhanced UV inhibitors to help reduce premature yellowing and maintain clarity over time.
Match the kit size to the surface—not just the project name
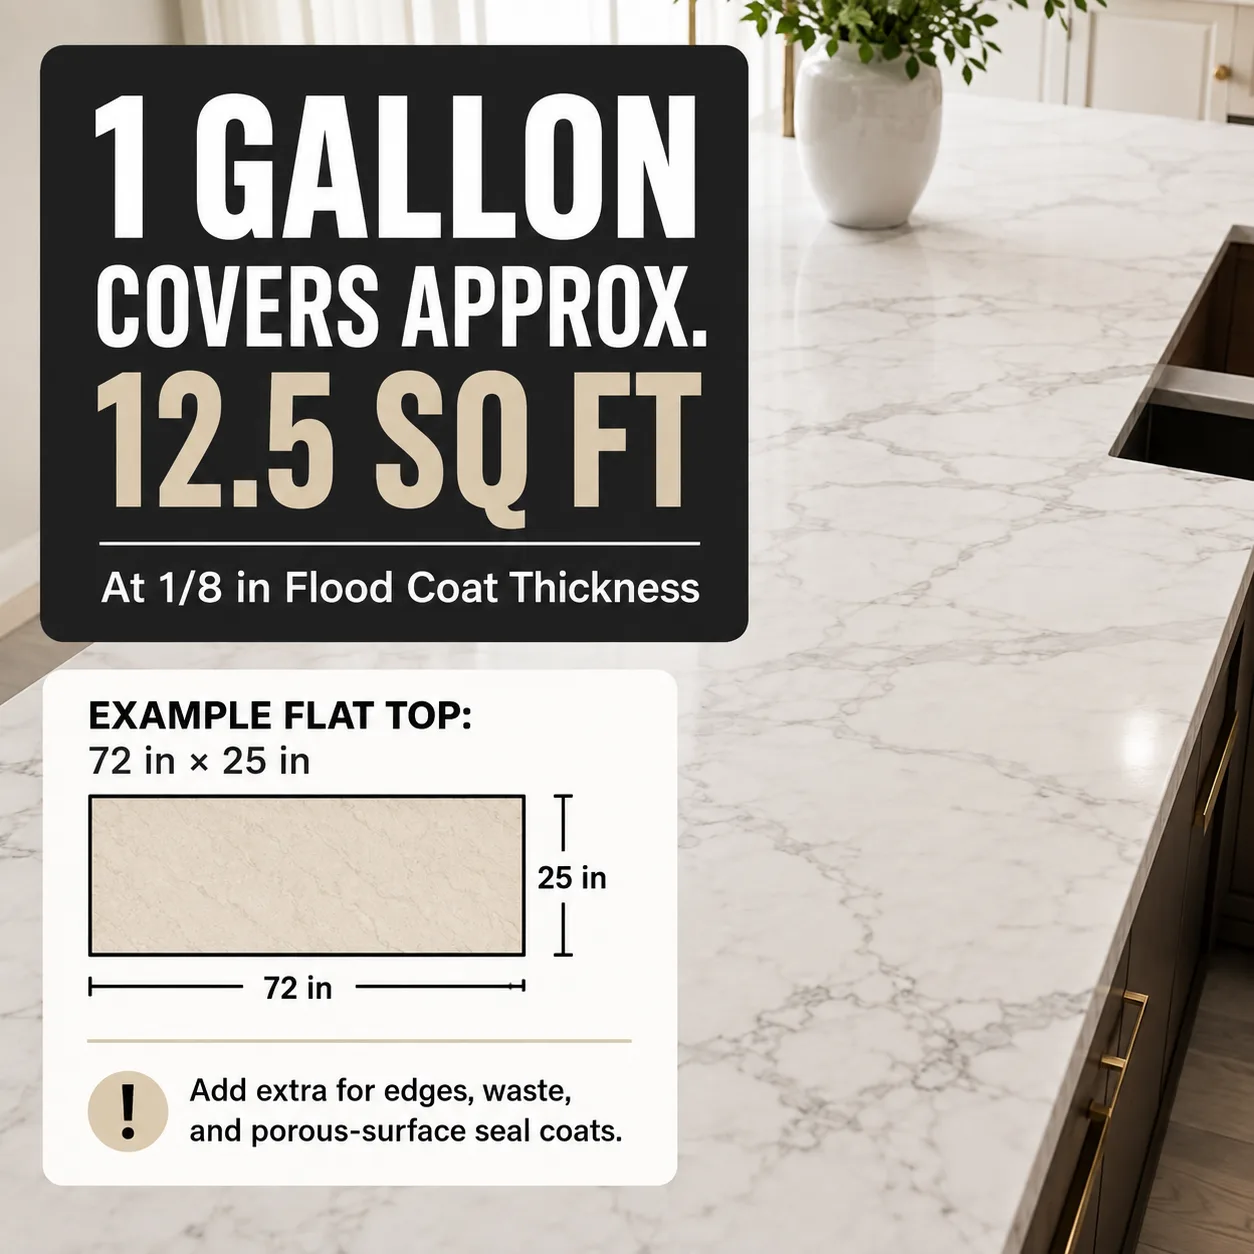
Coverage is based on a flat surface at a 1/8-inch flood coat. Edges, backsplashes, porous surfaces and normal application waste require additional material.
Compare kit sizes
Select a kit to view its approximate coverage, contents and recommended project types.
Actual coverage varies with thickness, vertical edges, surface condition, material left in containers and application waste.
Actual coverage varies with thickness, vertical edges, surface condition, material left in containers and application waste.
Made for countertops, bar tops and table tops
Use POURLA Countertop Epoxy for refinishing or creating decorative surfaces in kitchens, bathrooms, bars, restaurants and workspaces. Every substrate must be properly prepared, clean and dry before application.
Clear when poured. Customizable when needed.
The clear system can be combined with compatible pigments, dyes, metallic powders and decorative elements. Mix Part A and Part B completely before dividing the batch and adding colorants.
A reliable cure starts with accurate measuring and complete mixing
Prepare the workspace and complete every repair before combining Part A and Part B. Once mixed, the working clock has started.
Prepare the surface
Make sure the surface is clean, dry and free from dust, oil, wax, moisture and loose material. Porous wood or concrete may require a seal coat to help reduce outgassing.
Measure equal parts by volume
Measure Part A resin and Part B hardener at an exact 1A:1B liquid-volume ratio. Inaccurate measurements may lead to soft, sticky or incomplete curing.
Mix slowly for 3–5 minutes
Scrape the sides, bottom and corners of the container repeatedly until the mixture is completely uniform. Avoid whipping excessive air into the batch.
Pour and spread promptly
Pour in an S-shaped pattern and spread evenly within the available working time. Allow the material to self-level. Do not exceed 1/8 inch per coat.
Protect the surface while it cures
Initial cure is approximately 5–6 hours and full cure is approximately 36–48 hours at 75°F. Allow additional time before heavy use, high heat or placing heavy objects.
What the 195°F Heat Distortion Temperature actually means
HDT is the temperature at which a cured test sample reaches a specified amount of deformation under a defined laboratory load. It is a useful comparison value, but it is not a safe direct-contact rating for hot cookware.
Key data for planning, mixing and curing
Typical values are measured under controlled conditions. Temperature, humidity, batch size, substrate and application thickness can change working and cure times.
| Color | Clear resin and clear hardener |
|---|---|
| Mix ratio by volume | 1A : 1B |
| Mix ratio by weight | 1.2A : 1B |
| Mixing time | 3–5 minutes, scraping the sides, bottom and corners |
| Working time | Approximately 20–30 minutes at 75°F |
| Maximum coat thickness | 1/8 inch per coat; use step-pouring for thicker builds |
| Initial cure | Approximately 5–6 hours at 75°F |
| Full cure | Approximately 36–48 hours at 75°F |
| Resin viscosity | 7,500–9,500 cP at 75°F |
| Hardener viscosity | 800–1,600 cP at 75°F |
| Hardness | Shore D 80–84 |
| Heat distortion temperature | 195°F (90°C) |
| Water absorption | Less than 0.1% |
| Coverage | Approximately 12.5 sq. ft. per mixed gallon at a 1/8-inch flood coat |
Always read the current Technical Data Sheet and product instructions before mixing or pouring.
Clear answers before your project begins
These answers are also included in the FAQ structured data at the bottom of this HTML block.
Is this epoxy suitable for kitchen countertops?
Yes. It is designed for kitchen countertops, bar tops, table tops and similar decorative surfaces. The substrate must be properly prepared, clean and dry before application.
How long should I mix the resin and hardener?
Measure equal parts resin and hardener by liquid volume, then mix slowly and thoroughly for 3–5 minutes. Scrape the sides, bottom and corners of the container repeatedly to create a uniform mixture.
How much area does the 1 gallon kit cover?
One mixed gallon covers approximately 12.5 square feet at a 1/8-inch flood coat. Actual coverage depends on thickness, vertical edges, backsplashes, surface condition and normal application waste.
How much area does the 64 oz kit cover?
The 64 oz kit contains one-half mixed gallon and covers approximately 6.25 square feet at a 1/8-inch flood coat. Plan extra material for edges, waste and porous-surface seal coats.
Can hot pans be placed directly on the cured epoxy?
No. Although the cured epoxy has a lab-tested heat distortion temperature of 195°F (90°C), HDT is not a safe direct-contact temperature for hot cookware. Always use a trivet or heat pad beneath hot pots, pans, baking trays and heated appliances.
Can pigments, dyes or metallic powders be added?
Yes, provided they are compatible with epoxy. Mix Part A and Part B completely first, then divide the batch and add colorants as needed. Test compatibility and the desired appearance in a small batch before beginning the full project.
Why is my epoxy still soft or sticky?
Common causes include an incorrect 1:1 ratio by volume, incomplete mixing, low temperature, excessive humidity or contaminated materials. Measure accurately, mix thoroughly for 3–5 minutes and keep the project in a clean, controlled environment while it cures.
Do porous wood or concrete surfaces need a seal coat?
A thin seal coat is recommended on porous materials such as live-edge wood and concrete. It helps seal trapped air before the flood coat and can reduce bubbles caused by outgassing.
Does the epoxy flow too much or drip over edges?
The higher-viscosity formula is designed for controlled flow and helps reduce excessive runoff while improving edge control. Some edge drop and material loss are still normal, so include an application buffer in your coverage calculation.
Plan the pour. Measure precisely. Protect the cure.
Use the coverage calculator before purchasing, and review the Technical Data Sheet before mixing. Clear planning reduces waste, prevents mid-project shortages and gives the epoxy the conditions it needs to cure correctly.
Reviews
Clear filtersThere are no reviews yet.